How to set up Google Analytics (GA4)
Learning how to set up Google Analytics on your website will depend on how much you have already had to do with Google Analytics. If you are completely new to the whole process, we recommend reading the whole guide. Otherwise, you can skip to the part you need.
• Creating a Google Analytics account, property and data stream
• Setting up Analytics using Google Tag Manager
• Connecting your website using Google Analytics
• Step 4 - Create categories and products
• Step 5 - Import customer information
Creating a Google Analytics account, property and data stream
If you are new to Google Analytics, you will first need to create an account. If you already have an account, you will need to create a new property within that account.
On the ‘Create an account’ page, enter the name for your account:
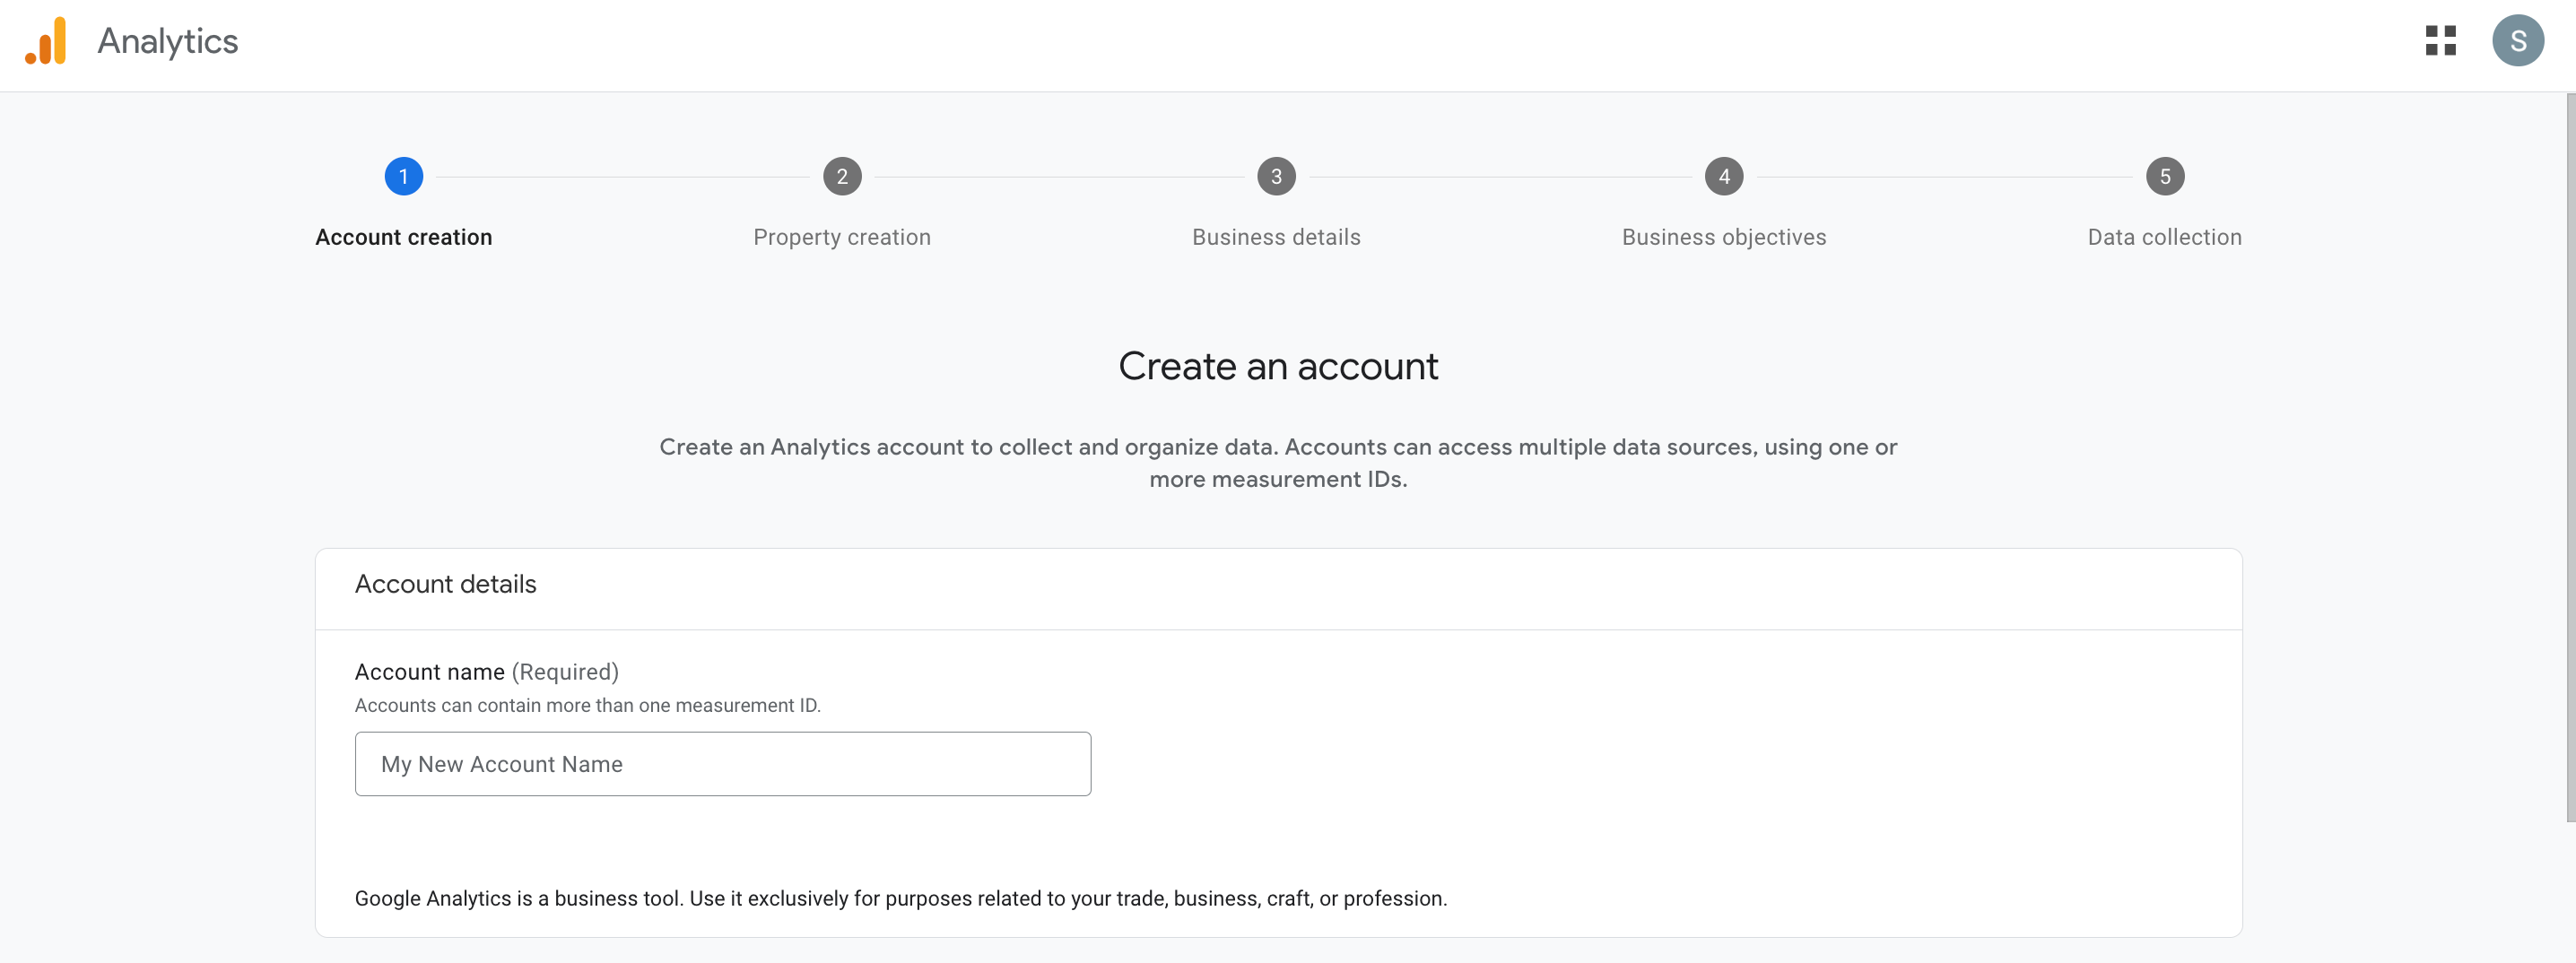
Then select which data account sharing options you want:

To learn more about these options, click here
Then select Next.
On the next page create a property.
Enter the name, time zone and currency for the property:
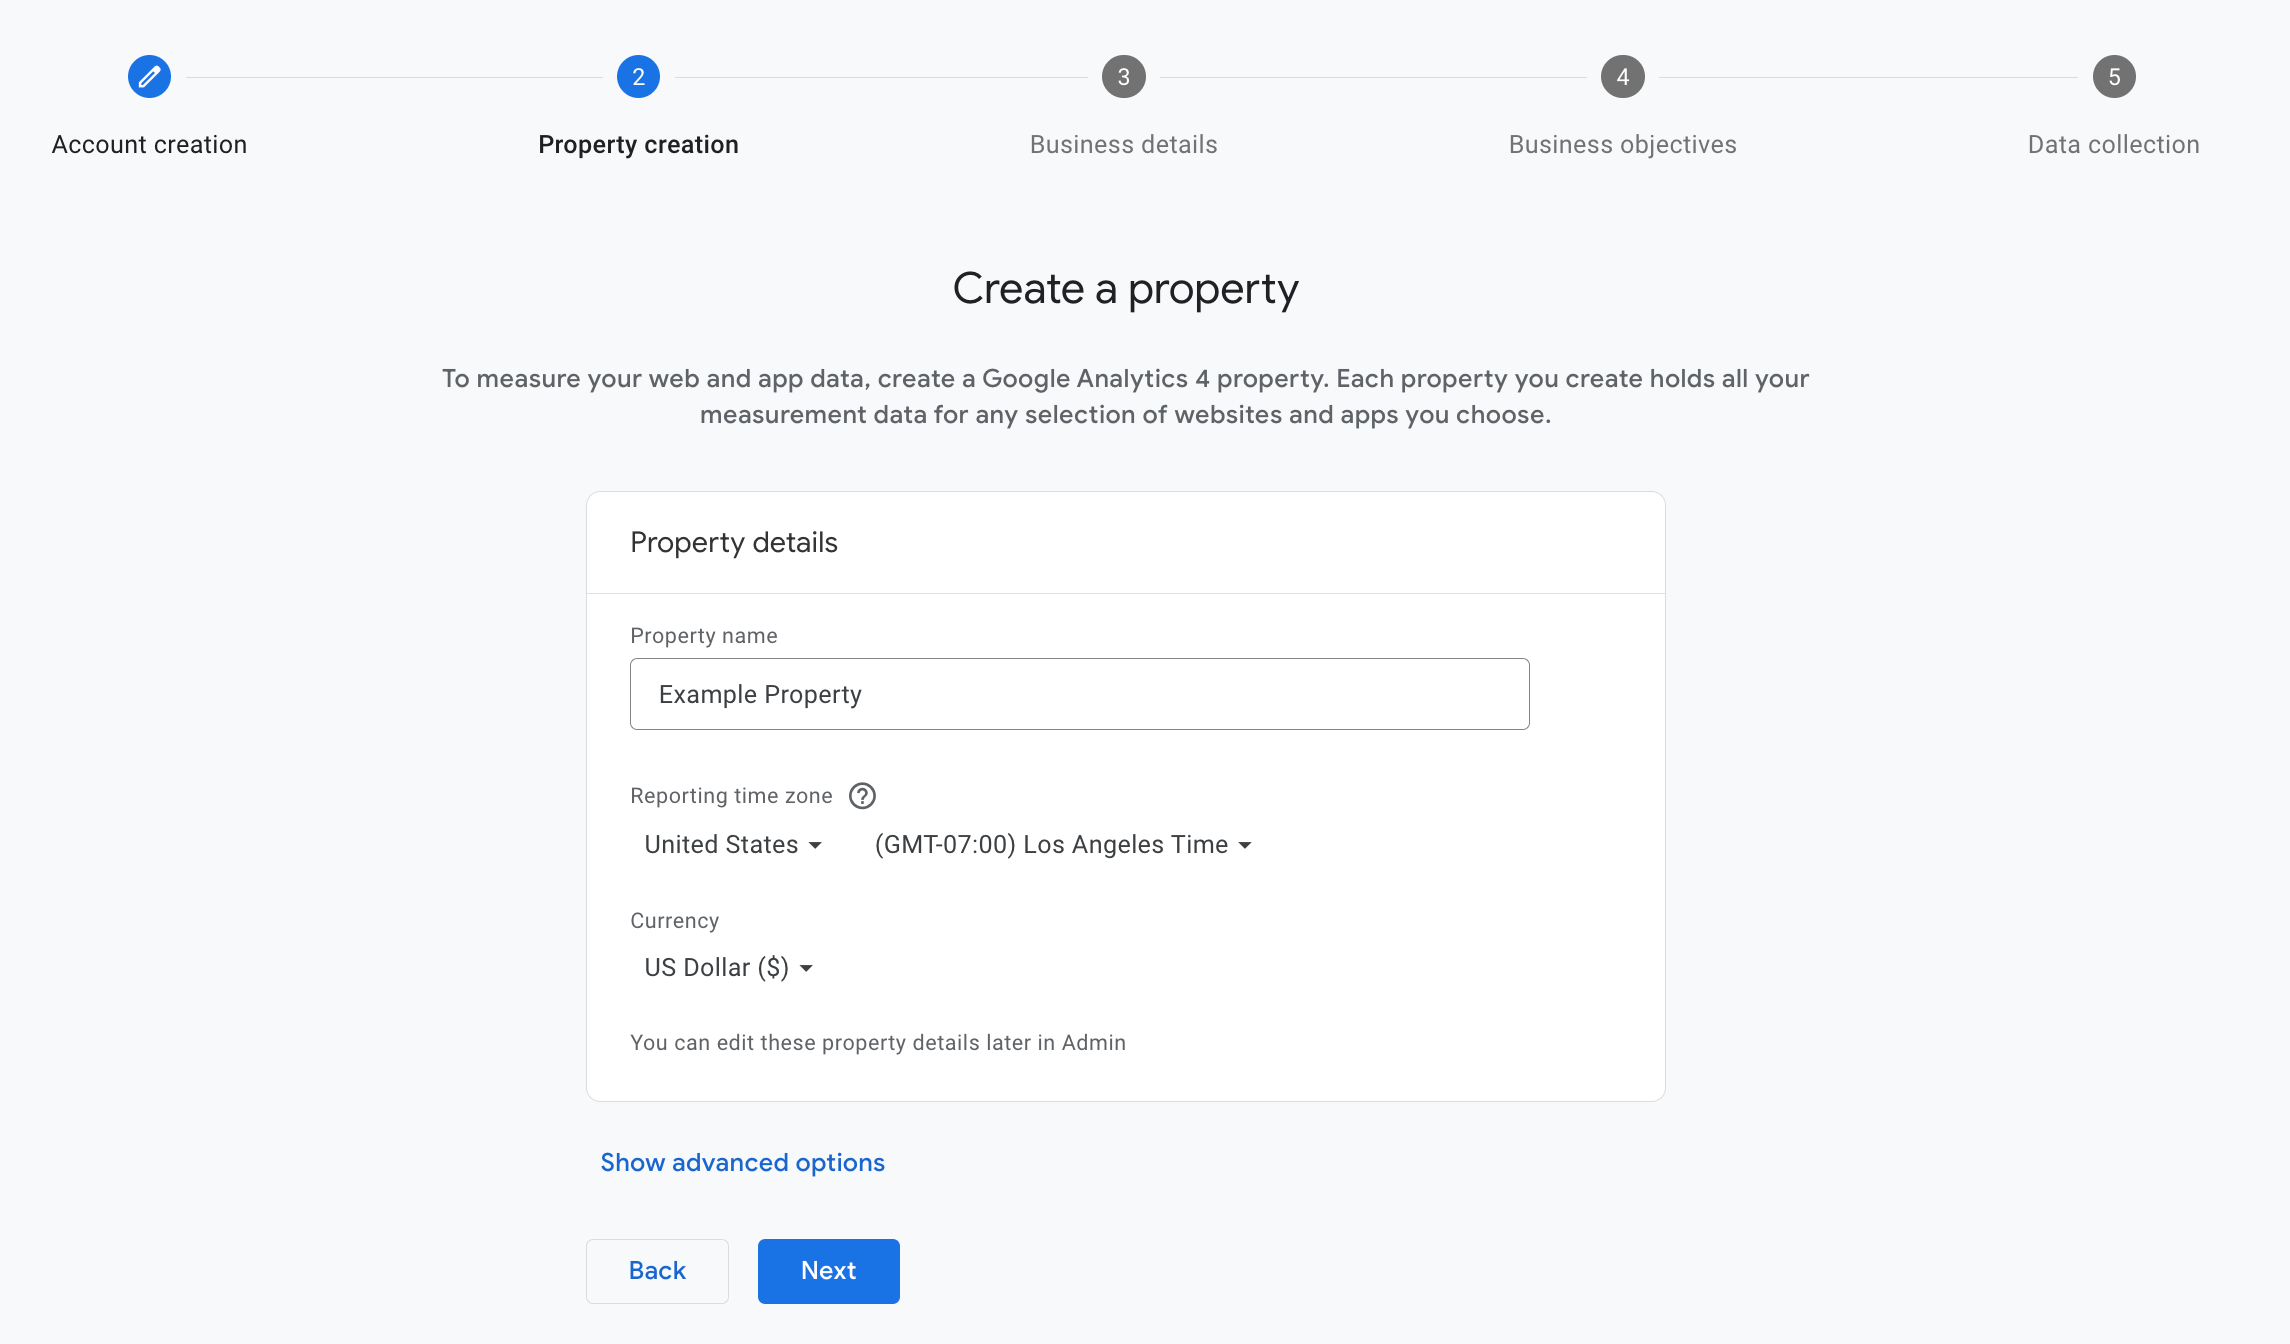
While the property name can be anything you like, we would recommend that the time zone and currency you select match those of your website.
Then select Next.
On step 3 answer some basic questions about your business:
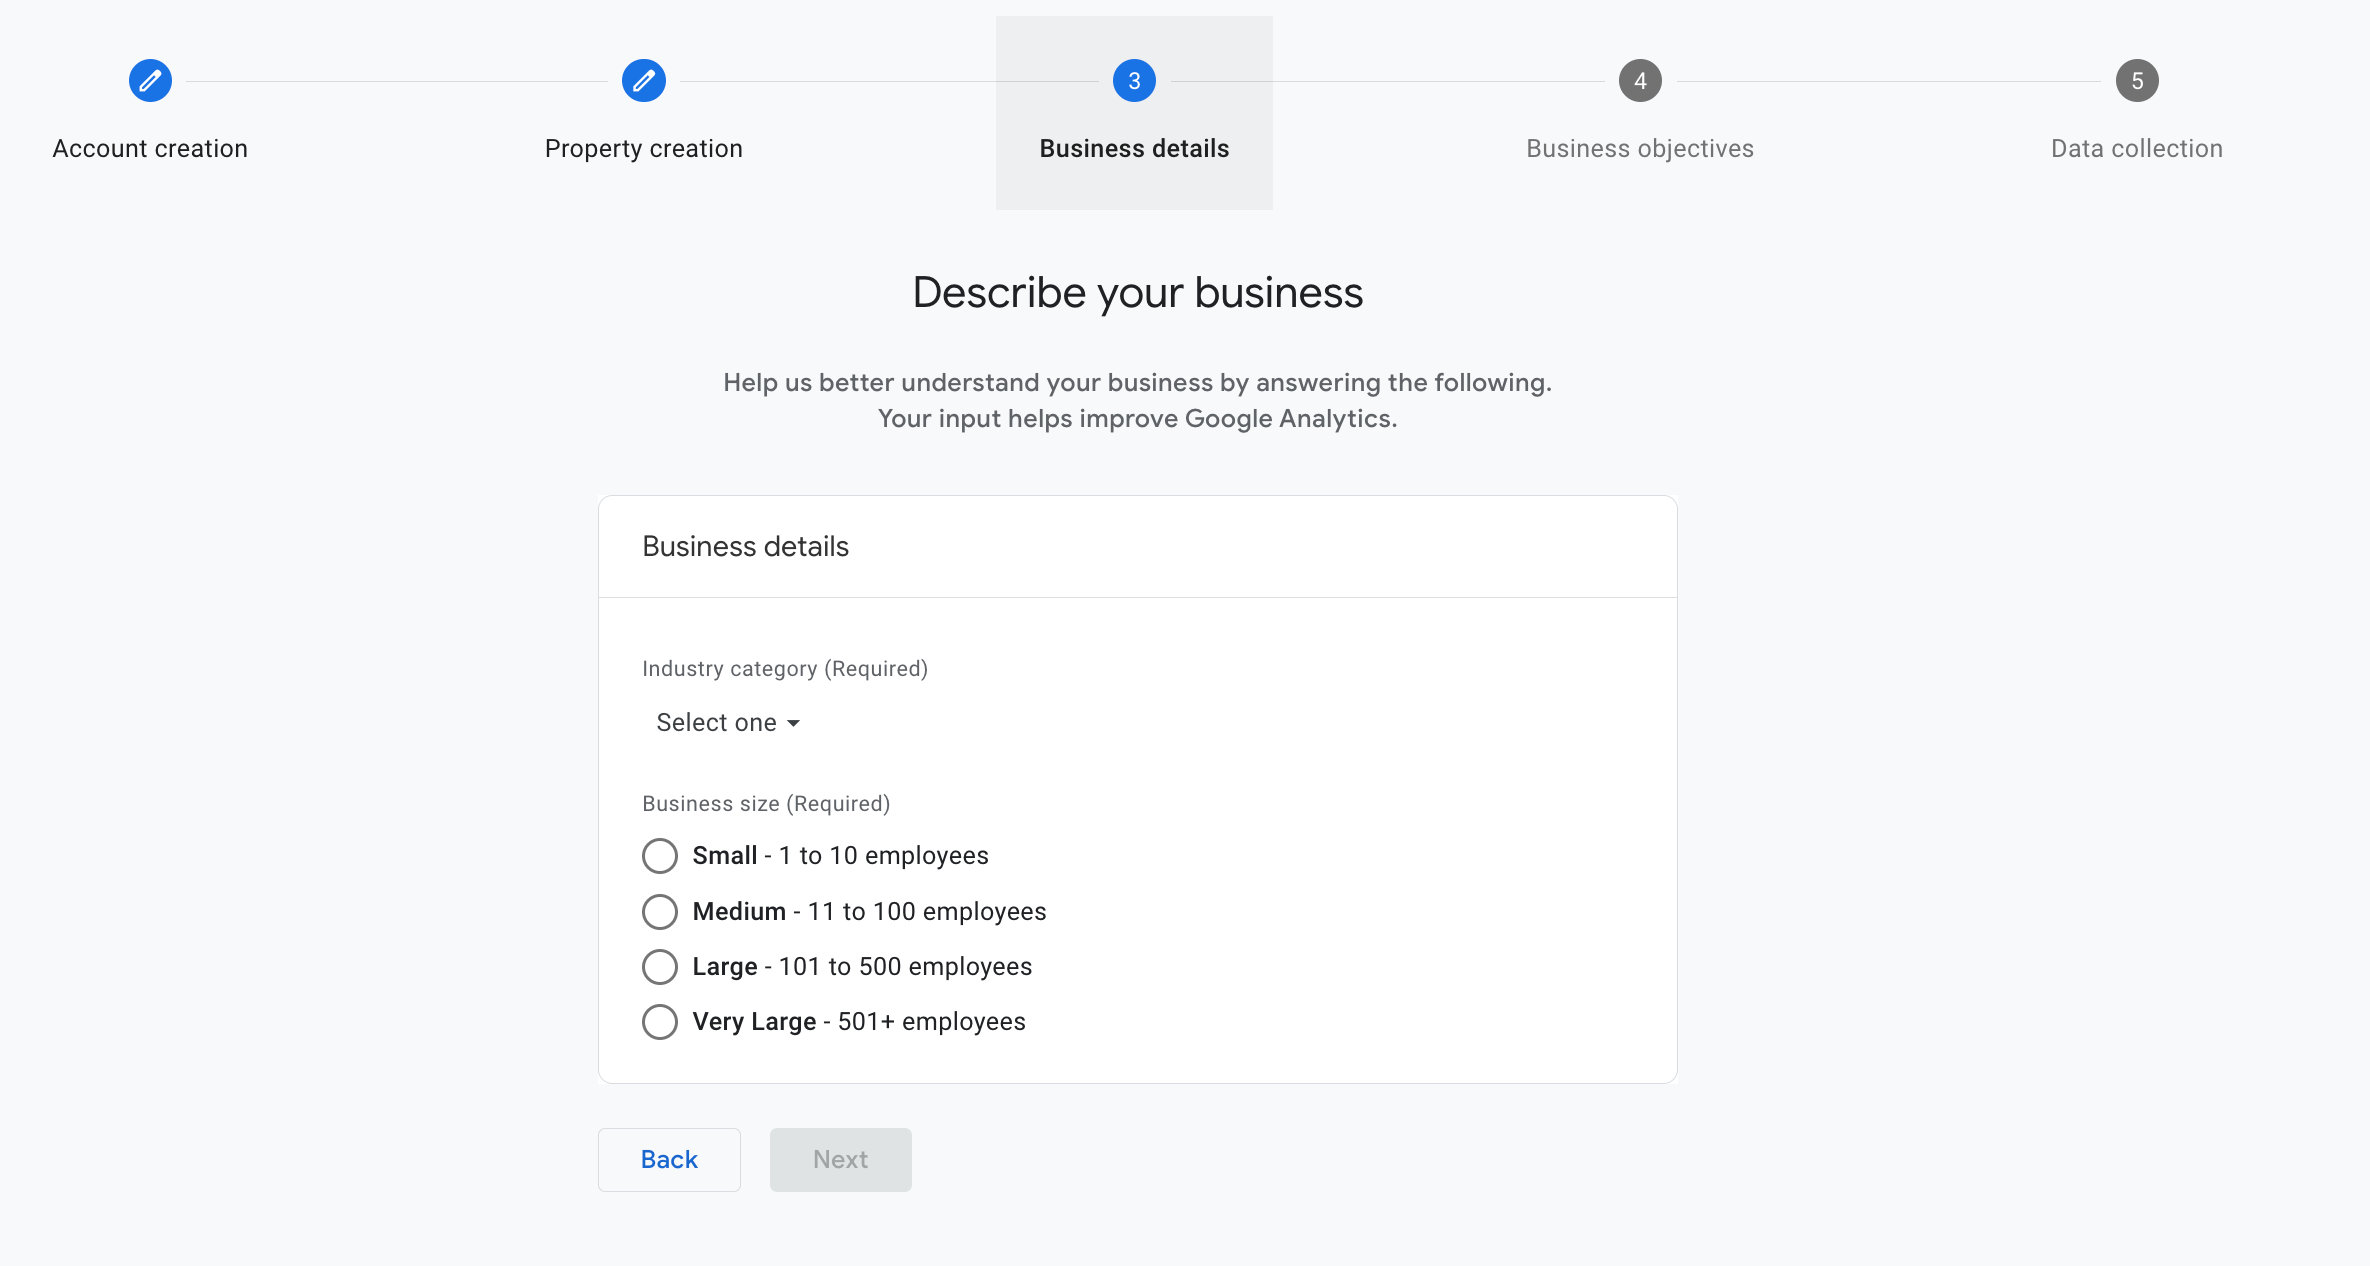
Then select Next.
Under ‘Choose Your Business Objectives’ you should use these options to determine which types of reports you want the property to display:
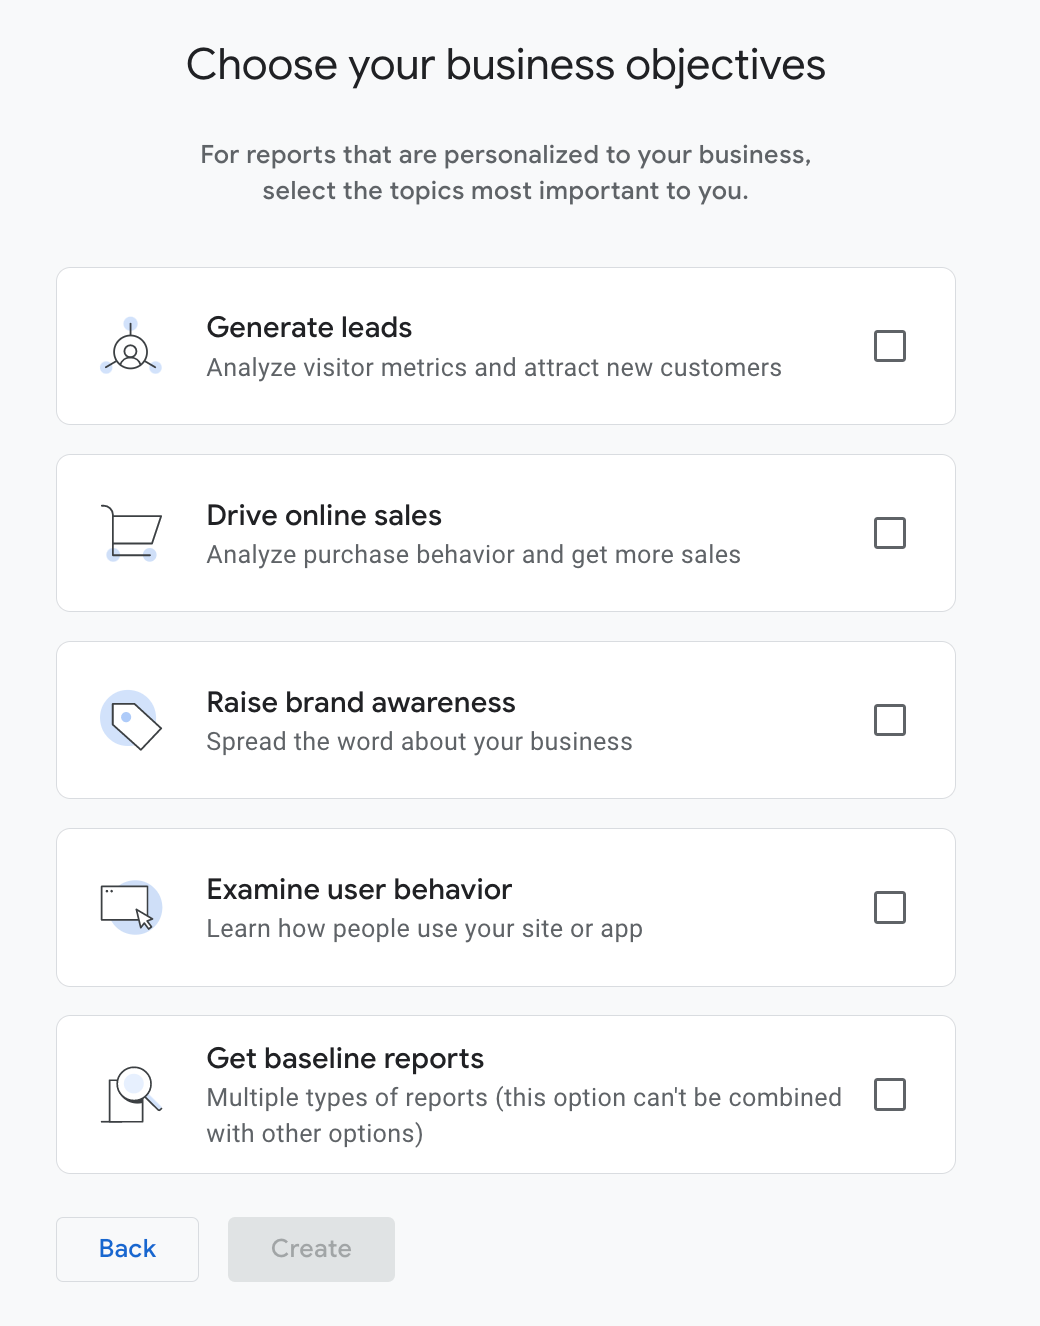
For more information about the types of reports, please click here.
Then select Create
Once your account and property have been created, step 5 of the setup process will allow you to add a data stream to start collecting data.
During step 5 of the data process you will see the following options:
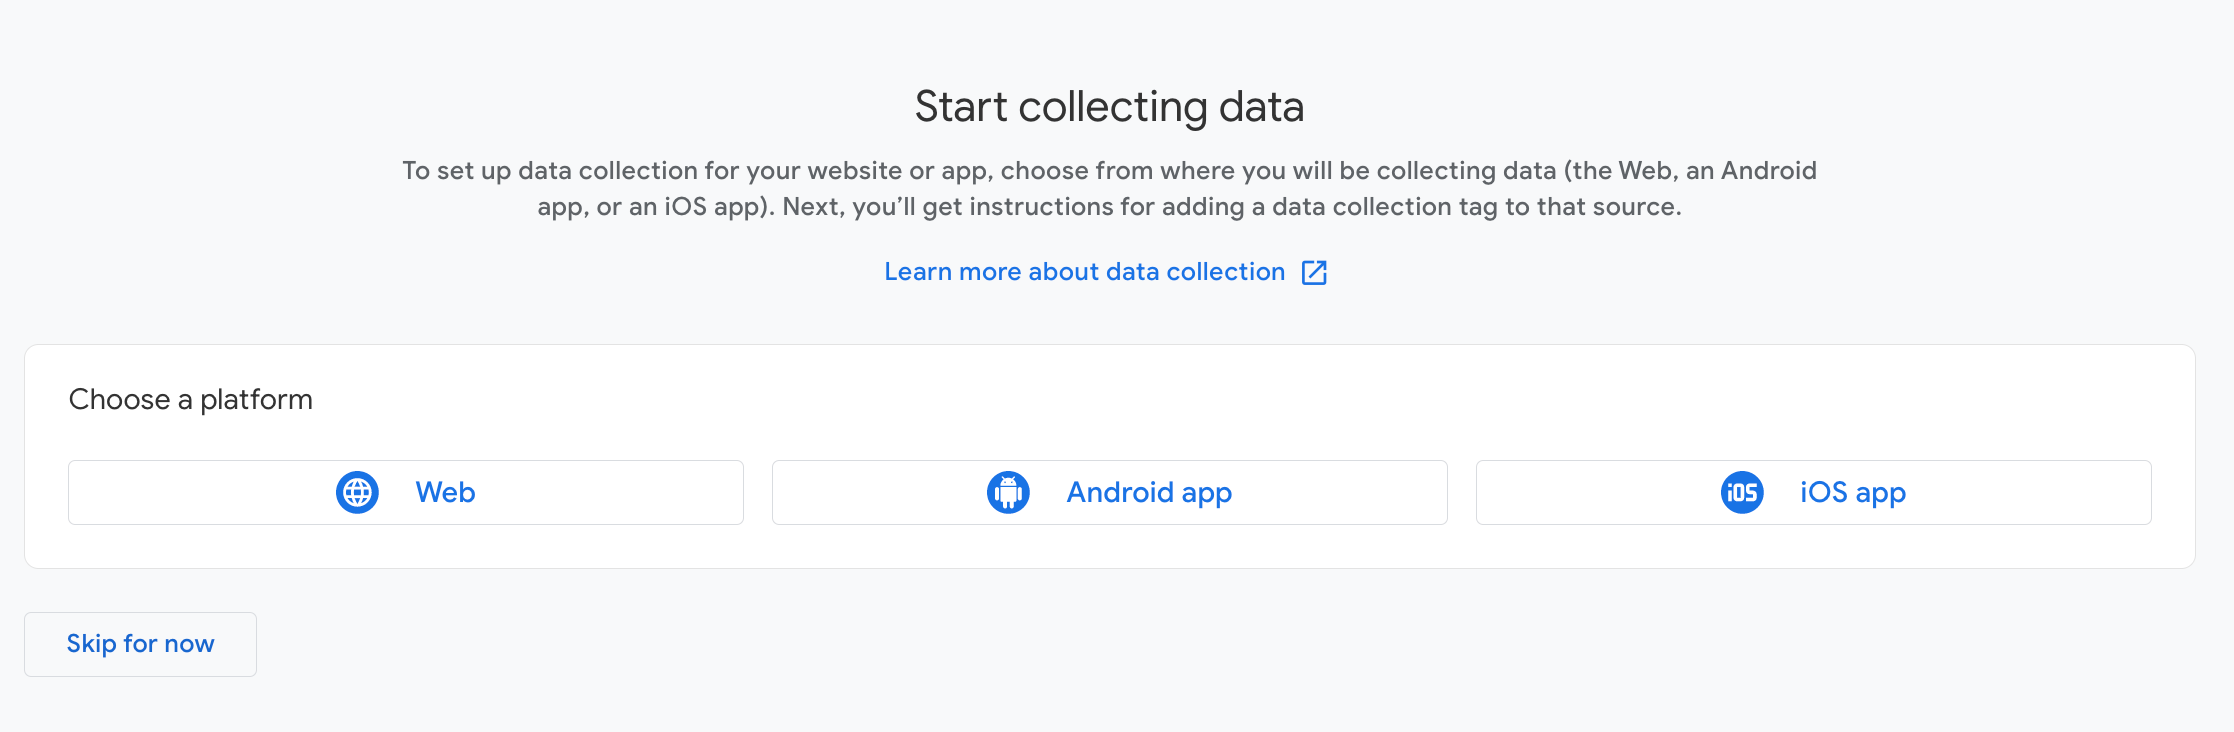
Since you will want to collect data from your website, select the ‘Web’ option.
Then enter your website’s URL and a name for the data stream:
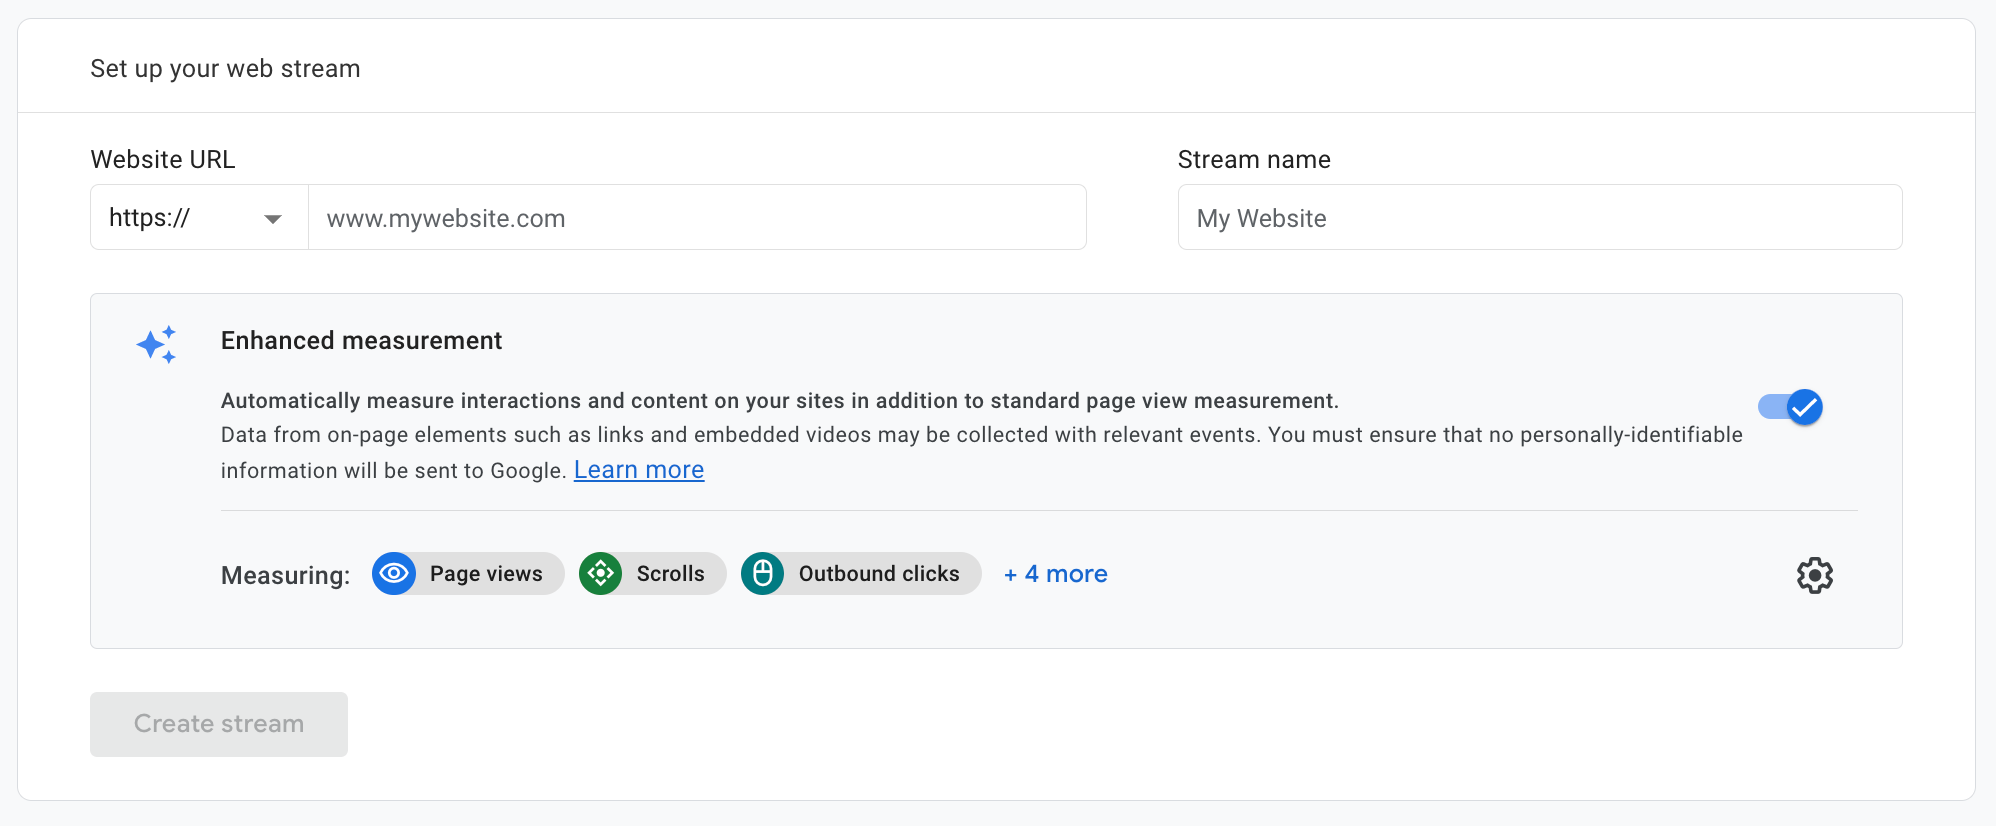
You can then choose if you want ‘Enhanced Measurement’ turned on. To learn more about enhanced measurement, please click here.
Once your data stream is set up you will then need to connect it to your website. There are two ways to do this, either through the Google Tag Manager or by entering the supplied code in the visitor tracking section.
Setting up Analytics using Google Tag Manager
To connect your GA4 property to your website by using the Google Tag Manager, you will first need to connect your website to Google Tag Manager by following these instructions.
Once you have connected your GTM and ShopWired accounts, navigate to your Google Tag Manager account and select Add a new tag:
In the popup that appears select the ‘Tag Configuration’ box:
Then select Google Analytics:
In the next section, select Google Tag:
In the 'Tag ID' field you will need to enter your Google Analytics Measurement ID. To learn where to find this ID, click here.
Then you’ll need to set the trigger. To do this select the ‘Triggering’ box:
In the 'Choose Trigger' section, select 'All Pages':
Then select Save.
You can then preview the changes to make sure they are working. Once you have finished previewing, you will need to publish the changes by selecting Submit:
This will now have connected your Google Analytics account to your Google Tag Manager account.