ShopWired’s Instagram app allows you to connect your Instagram account to your ShopWired account and create a customisable feed of your Instagram posts that can then be displayed on your website.
First, install the Instagram app by navigating to from the menu in your ShopWired account. Find and select the 'Instagram Widget' app and select INSTALL THIS APP.
• Connecting to Instagram
• Feed Configuration
• Displaying the feed on your website (Version 4 and earlier themes)
• Displaying the feed on your website (Version 5 themes)
• Product Tagging
Connecting to Instagram
In order to connect your Instagram account to the app you must be using an Instagram Business account. For more information about Instagram Business accounts and for instructions on how to convert your current Instagram account to an Instagram Business account click here.
To connect to Instagram, firstly, in the box under 'Facebook Page Name' enter the name of the Facebook Page that is associated with the Instagram account that you would like to connect to the app. Then select change.
Important!
The name you enter must be an exact match for the Facebook Page that is connected to the Instagram Business account. This includes adding any spaces that may exist in your Page name. Please be careful to not add a space to the end of your business page name as this will stop the app from allowing you to connect your accounts.
The page name is not the end part of the Facebook URL. It is the name displayed on the page.
Once you have entered the name of the Facebook Page, select the log in with Facebook button. If you are not already logged into a Facebook account, you will be asked to log in. You should ensure that the Facebook account you log in to owns or has been granted access to manage both the Facebook Page and Instagram Business account that you are trying to connect.
Follow the prompts to grant the app permission to access the Facebook Page, Business and Instagram Business account that you want to connect.
Once you have followed the prompts within Facebook, you will be returned to the app page. If the app was able to connect to the Instagram account, you will see a success message as well as details about the connected account:
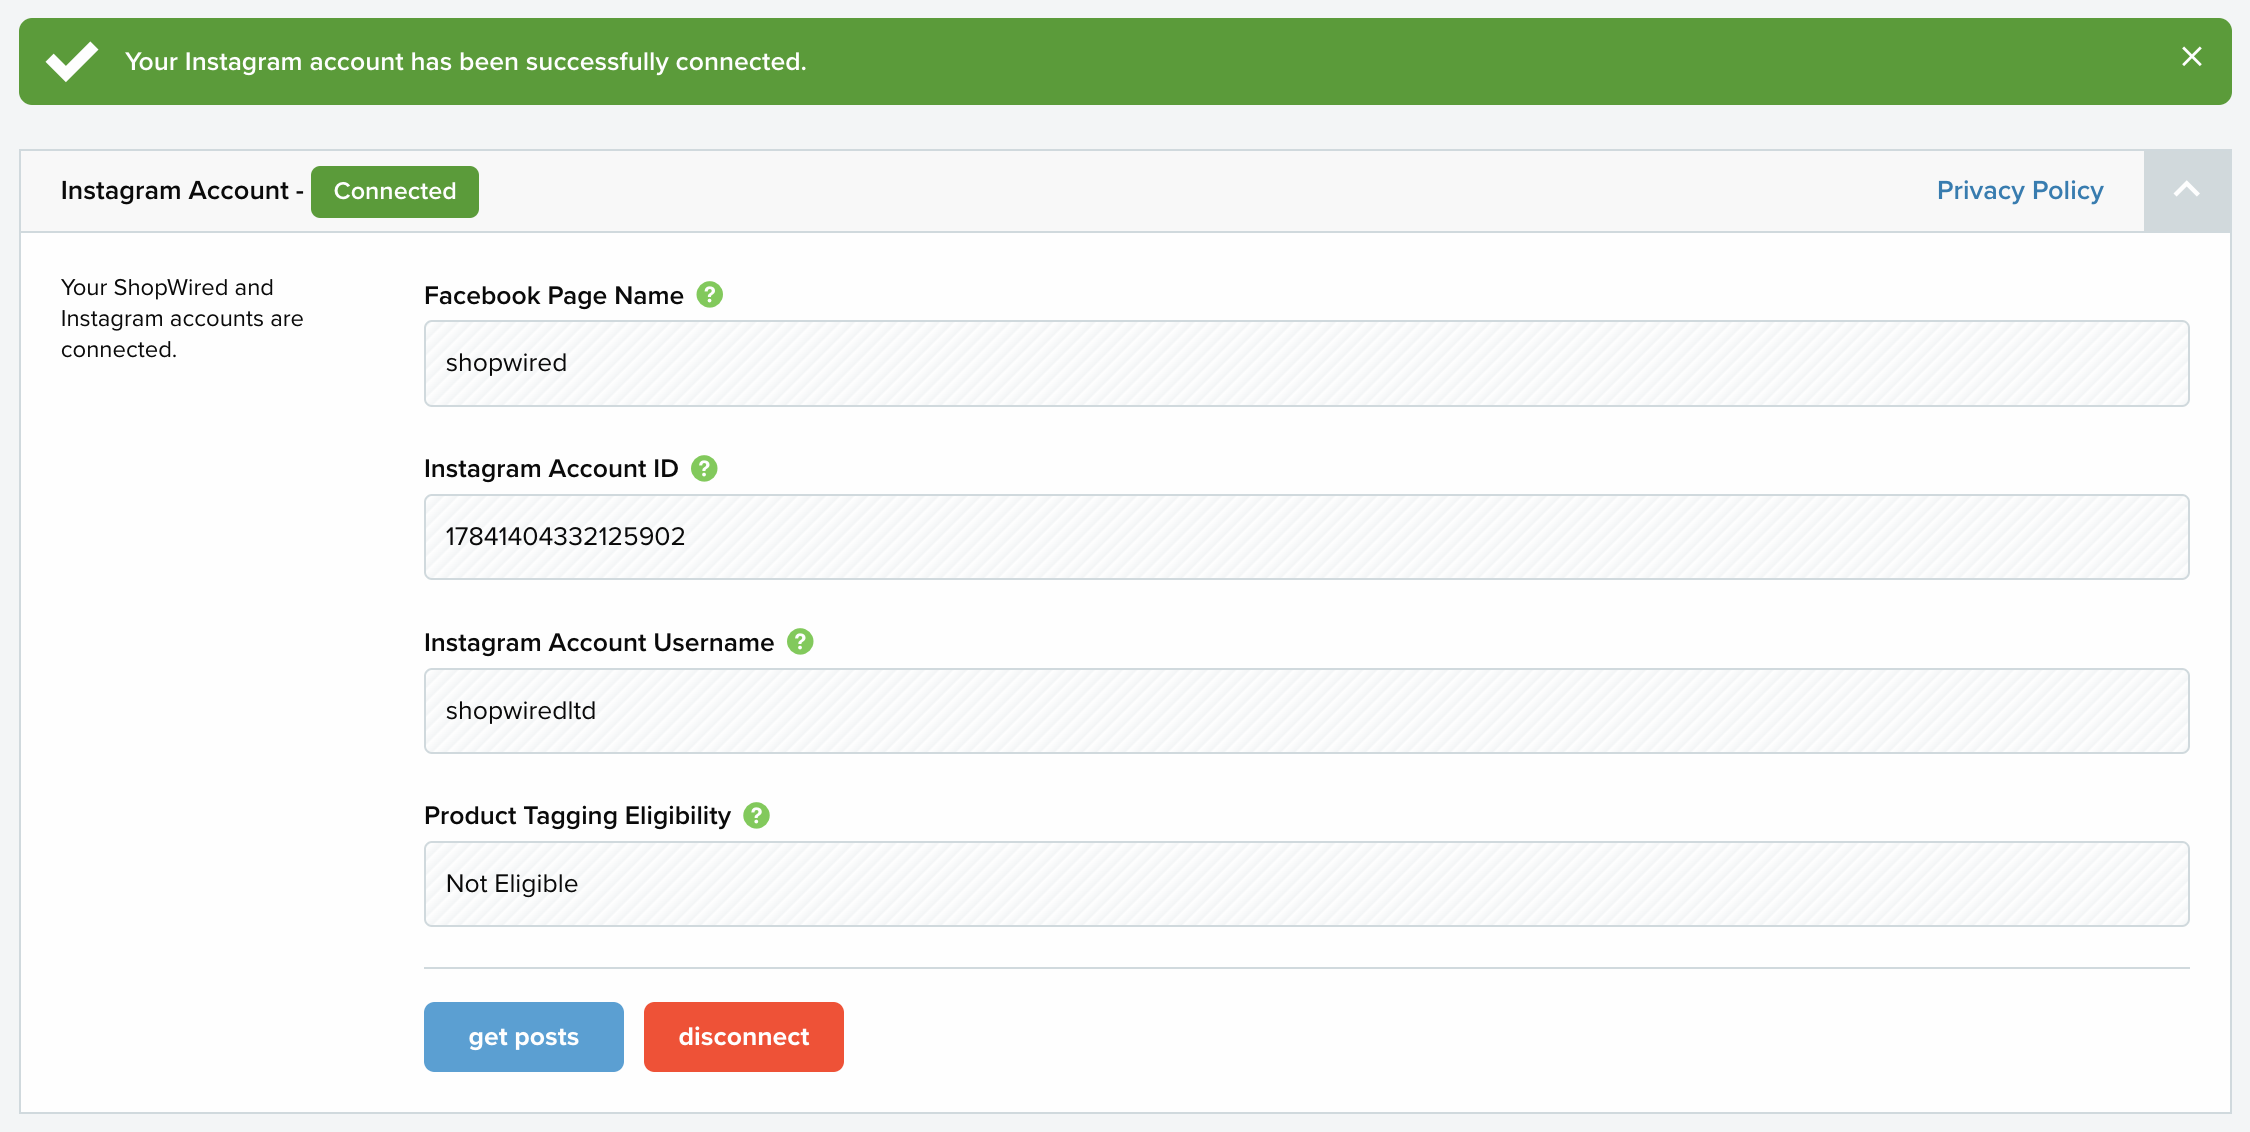
Once you have connected your account to the app, you can select to retrieve your posts. To do this select get posts. In the popup that appears, select if you want the app to retrieve all of the posts you have created or all of the posts that you have been tagged in on Instagram:
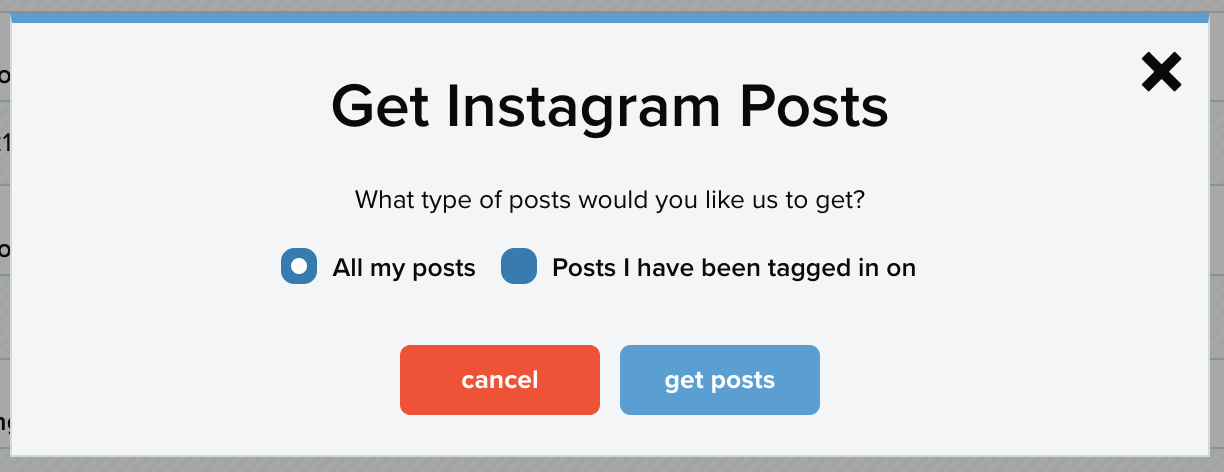
If you plan to use multiple feeds to display both types of posts, you should go through the process for each post type.
Depending on how many posts there are to retrieve, this process could take some time. You will receive an email to the email address registered with your ShopWired account once the process has been completed.
Feed Configuration
With the app you can display three different feeds of Instagram posts on your website. To configure the different feeds open the 'Feed Configuration' section and select either 'Instgram Feed 1', 'Instagram Feed 2' or 'Instgaram Feed 3'.
Then configure the following the settings:
Feed Title - If you would like a title to display above the feed on your website, then enter it here.
Feed Content - Use the dropdown to determine which type of posts you would like to display in the feed. Your choices are:
• All my posts - This will display all of your Instagram posts.
• Posts with specific hashtags - Use this option to display only your posts that have been tagged with specific hashtags. Once you have selected this option, you should enter the hashtags in the next field.
• Posts I have been tagged in on Instagram - This option will display the posts you have been tagged in on Instagram. This is a good option if your customers tag you in posts of them using/wearing your products.
Post Scroll Event - Select what you would like to happen when a visitor to your website scrolls over one of the posts in your feed. Your choices are:
• Do nothing
• Show number of likes
• Show post description
• Show number of likes and post description
Post Click Event - Select what you would like to happen when a visitor to your website clicks on one of the posts in your feed. Your choices are:
• Do nothing
• Open popup
• Go to Instagram
Post Spacing - Select how much spacing should show between the posts in your feed.
Post Layout - Select if you would like your posts to display in a grid or in a slider. Once you have chosen, you should then configure the settings for how many posts should appear in each column (and row if selecting grid) for different sized devices.
Displaying the feed on your website (Version 4 and earlier themes)
Please note!
The instructions below are suitable for all Version 4 themes but require you to make changes to your theme code. For assistance please contact us.
Step 1
Navigate to the page editor settings of your theme. This can be accessed by selecting from the left menu. Then select Page Editor for the theme that you want to add the code to (this is likely to be your live theme).
Step 2
Locate your master.twig file. For most themes this will be located in .
Step 3
Within the master.twig file is a block of code that begins with <head> and ends with </head>. Locate the closing </head> tag. This will be towards the top of the file:

Create a new line above the </head> tag. On the new line, paste the following code:
<link rel='stylesheet' href='https://hq-apps-sw.s3.eu-west-1.amazonaws.com/instagram-app/live/v2/main.css'>
Step 4
Scroll to the bottom of the file and locate the block of code that ends with </body>.
Create a new line above the </body> tag. On the new line, paste the following code:
<script src='https://hq-apps-sw.s3.eu-west-1.amazonaws.com/instagram-app/live/v2/main.js'></script>
Save your changes to the master.twig file.
Step 5
Where you place the code for this step is determined by where you want the feed to display.
The example instructions below will place the feed in the footer of your website, so that the feed is visible on all pages of your website.
Locate the footer.twig file. For most themes this can be found in the folder.
Within the file, locate the <footer> tag (this might also look like this <footer class="...">):

Paste the above code that is related to the feed you want to use, displayed within the Instagram app in the Theme Installation section.
This should look something like this:

Save your changes to the footer.twig file and check the display of the feed on your website to make sure it is correct.
Displaying the feed on your website (Version 5 themes)
When using a Version 5 theme, ShopWired's Instagram app uses ShopWired's app sections functionality allowing you to easily configure where you want the feed to display on any particular page that you add it to.
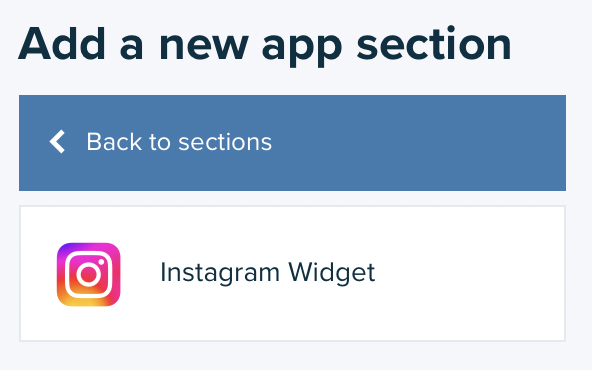
Navigate to the theme customiser for your theme and click to add a new app section and select the 'Instagram Widget' option as shown below.
Use the settings displayed within the app section to determine how you'd like the feed to display.
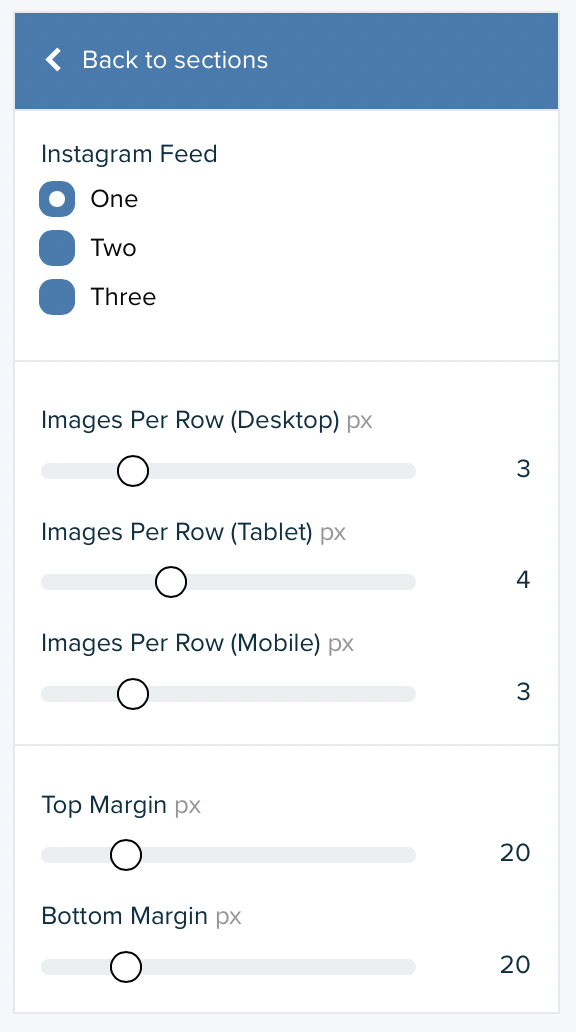
App sections are configured in the same way as theme sections, and you will need to add the Instagram app section to each page of your theme that you want the Instagram feed to display on.
Once you've added the sections to the desired pages, click to save your changes in the theme customiser and check your website to make sure it is displaying the feed correctly.
Product Tagging
Using the 'Product Tagging' section of the app, you can tag your products on your Instagram posts so that users can be taken directly from your Instagram post to your website to purchase the product.
The list of products that can be added to your posts is retrieved from the Facebook Catalogue that is associated with the connected Facebook Page. To learn how to upload your products to your Facebook Catalogue click here.
In order to use this functionality, your Instagram Business account must have an Instagram Shop set up and be eligible for product tagging. In the 'Instagram Account' section of the app configuration page, you can see if your account is eligible for product tagging. To learn more about Instagram Shopping click here.
Important!
Eligibility for product tagging is determined by Instagram. The ShopWired support team cannot change your eligibility status.
In the 'Product Tagging' section you will see a list of your posts:

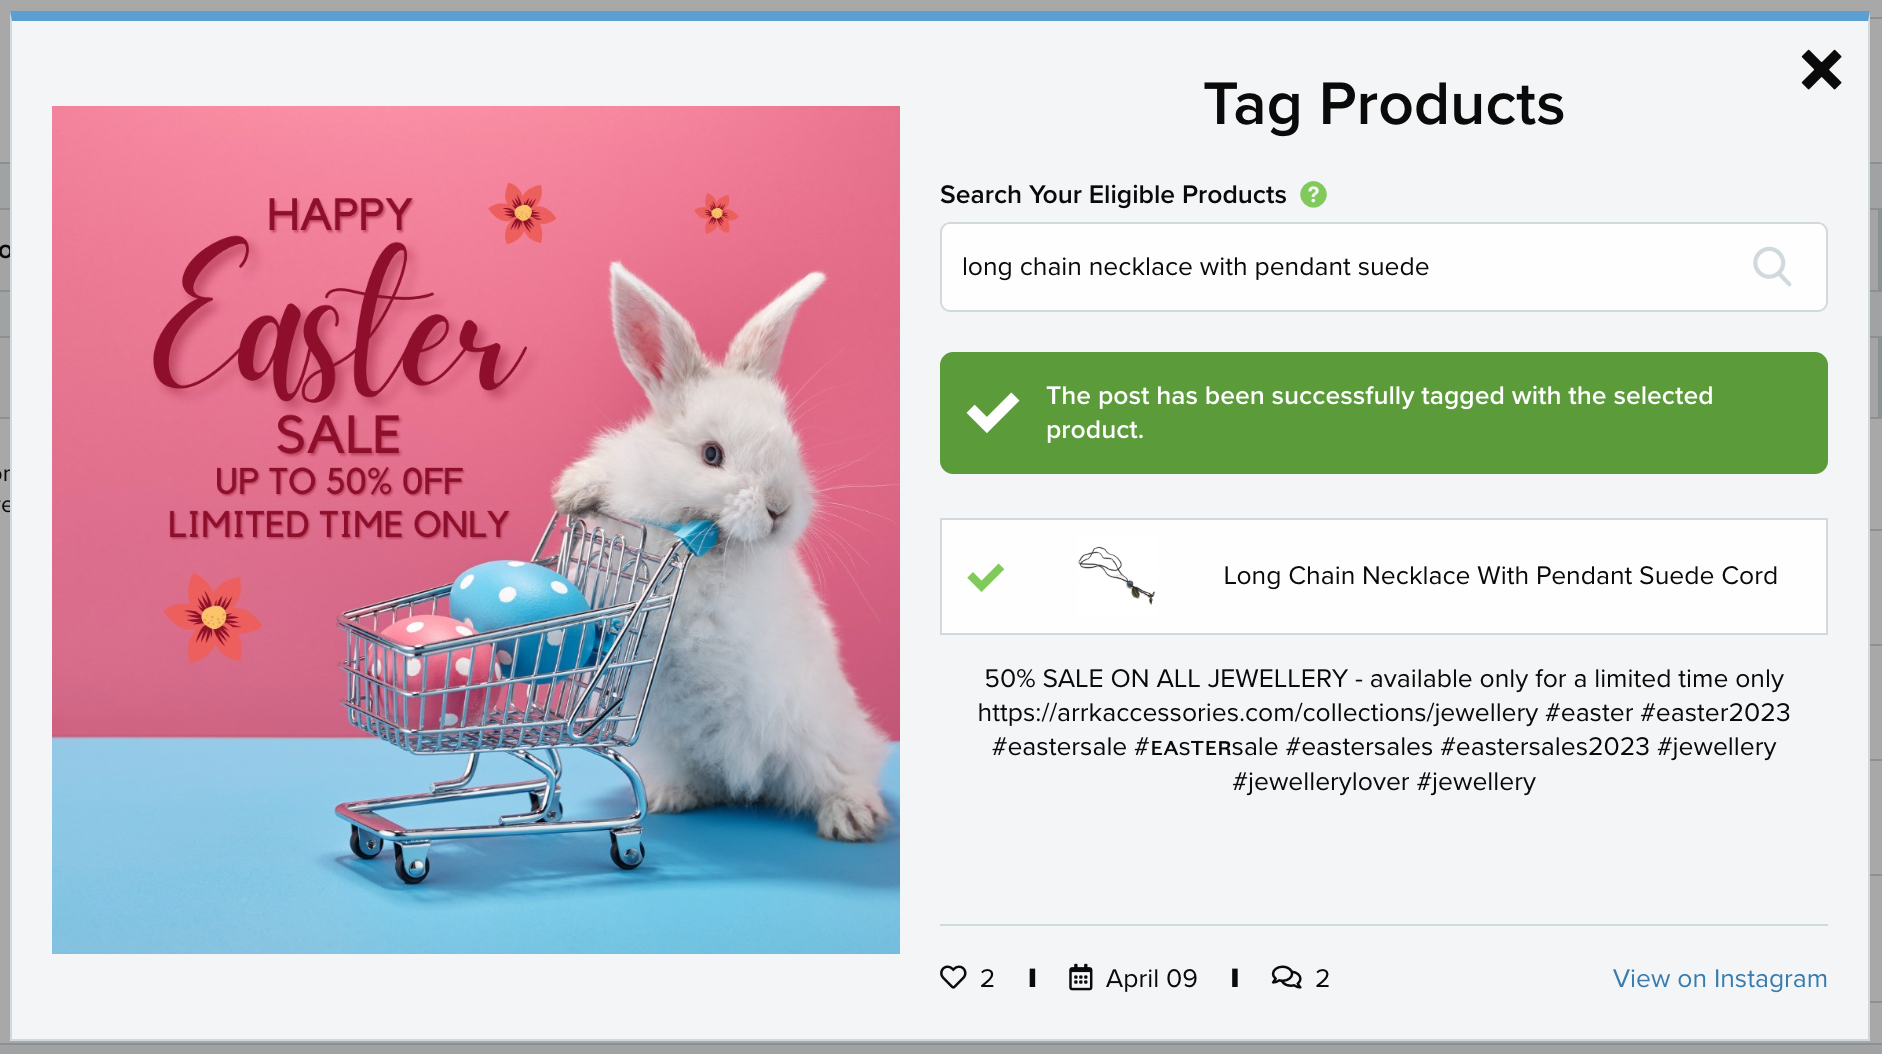
Select the tag icon under 'Tag Products' for the post you want to tag a product on. In the popup that appears search for the product by name or SKU code:
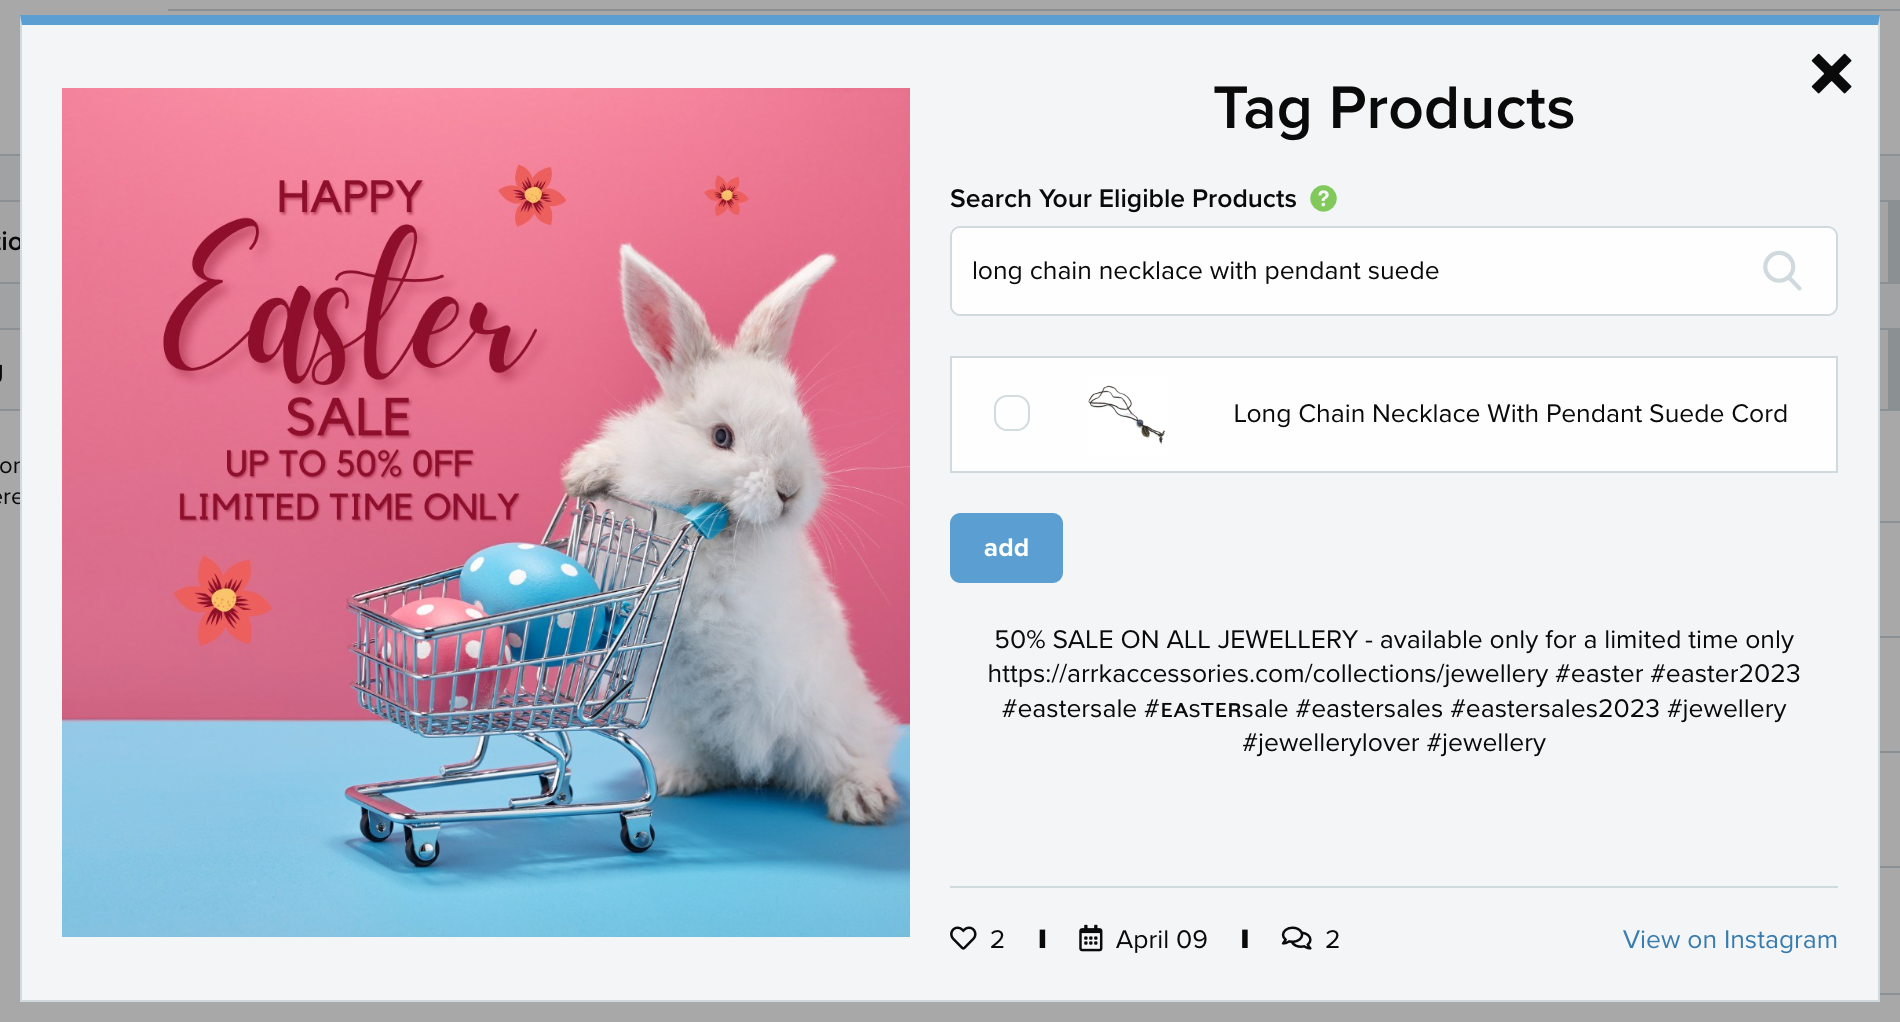
Place a tick in the box beside the product you want to tag and then select add. You will see a success message telling you the product has been added:
