Home page images
Customising home page images
Most ShopWired themes (but not all) have a section on their home page which contains images. You can upload your own images to this section by following the guidance below.
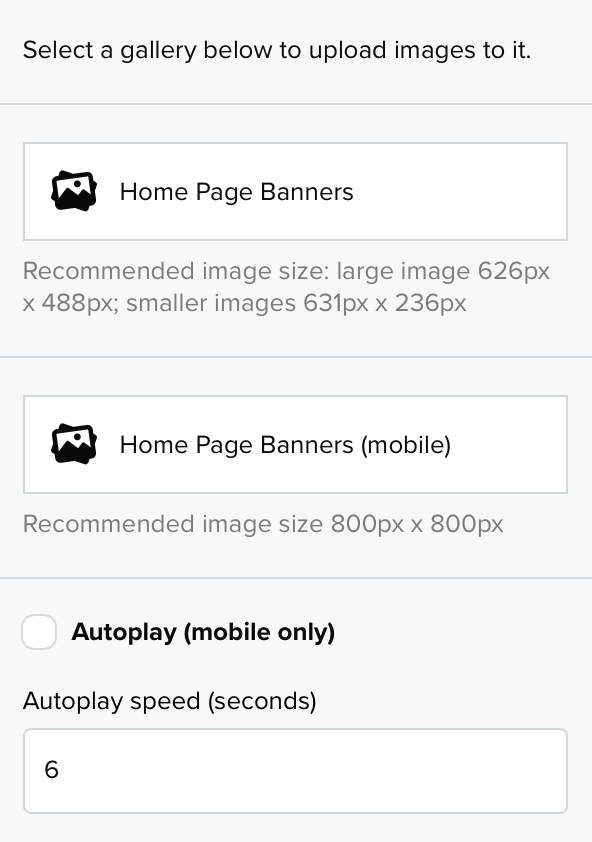
Images are collected into 'galleries' as shown on the example above. The theme in this example has two separate galleries, one for the collection of images shown on larger screen devices (e.g. large tablets and desktop/laptop computers) and one for the images shown on smaller screen devices (e.g. smaller tablets and smart phones).
You should refer to your theme's help guide for more details about how the images on your theme work.
Uploading images
To upload images to your gallery click the gallery name and a new sidebar will be displayed (as shown on the screenshot below).
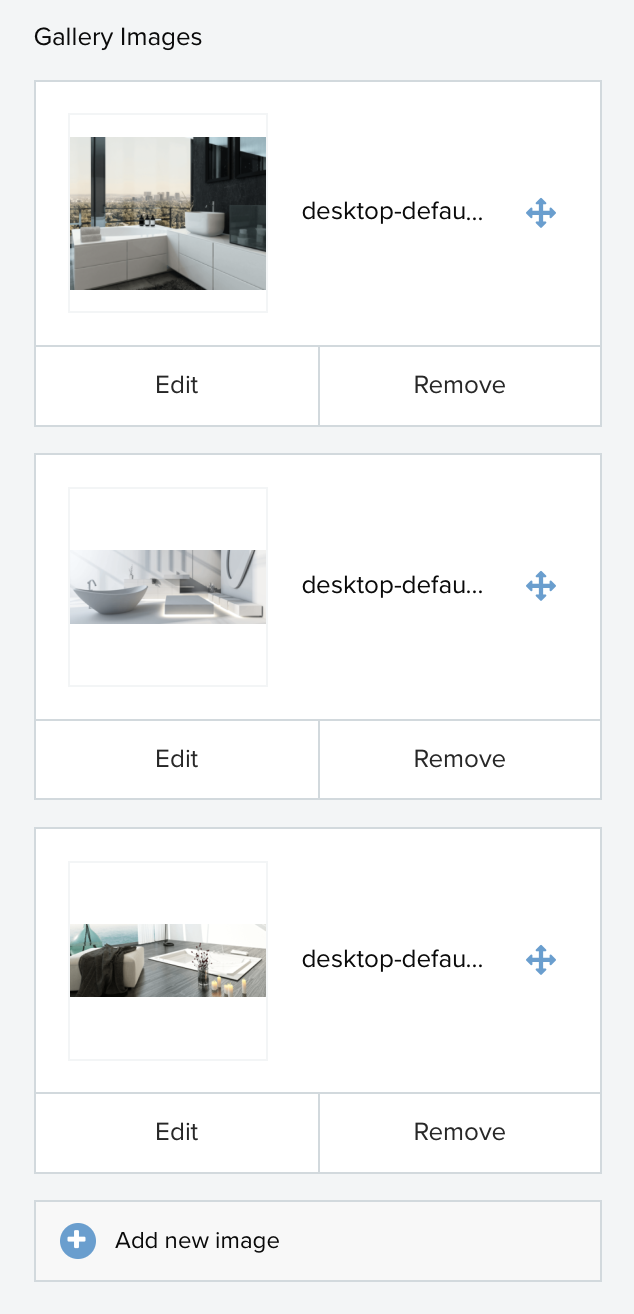
When your theme is installed, it's installed with some default/starter images. To delete these images click the 'delete' link (and click to confirm).
To upload your own image click the 'add new image' link at the bottom of the side bar.
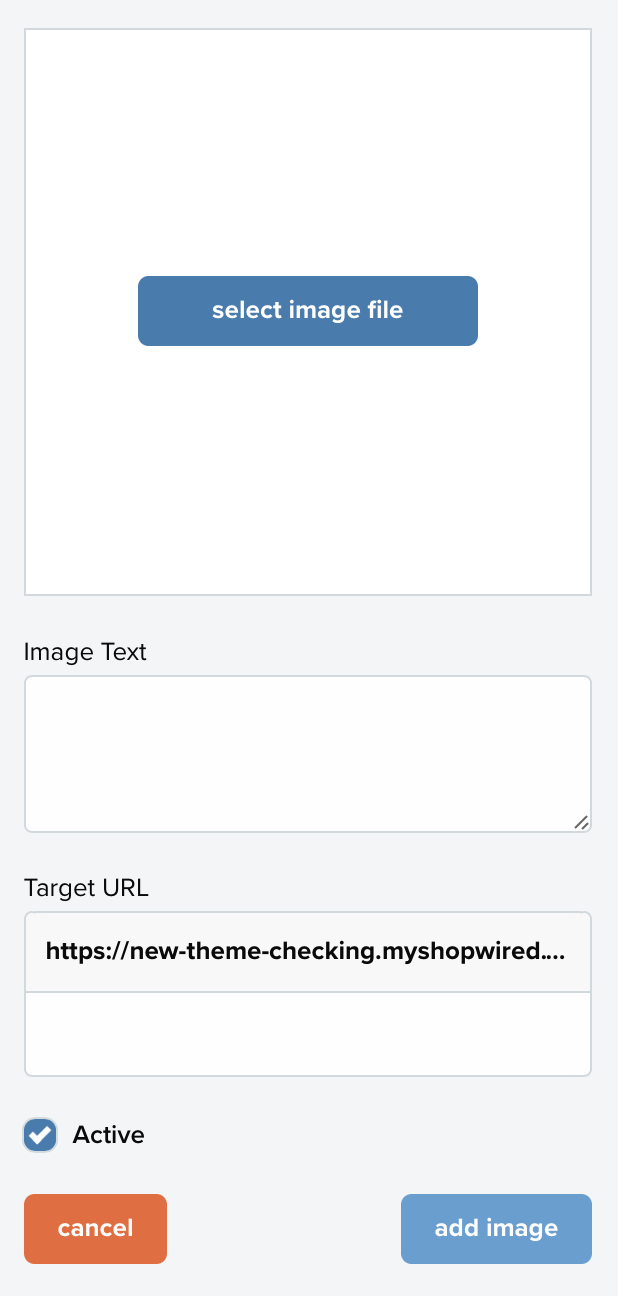
Click the 'select image file' button to select the image file from your computer's hard drive. You can find the recommended size for your image on your theme's help guide and can consult the help guide we have on resizing images.
Once you've uploaded your image you may be prompted/able to enter text for the image (the text will be shown overlaying the image), although please note that not all themes show text in this way (and so the text field will be hidden).
Most themes allow you to link images to particular pages on your website. To do so, enter the page's URL into the 'target URL' field (as shown in the example below). You should not enter the full URL here, as this is prefilled for you. Only enter the final part of the URL, as shown in the example below.
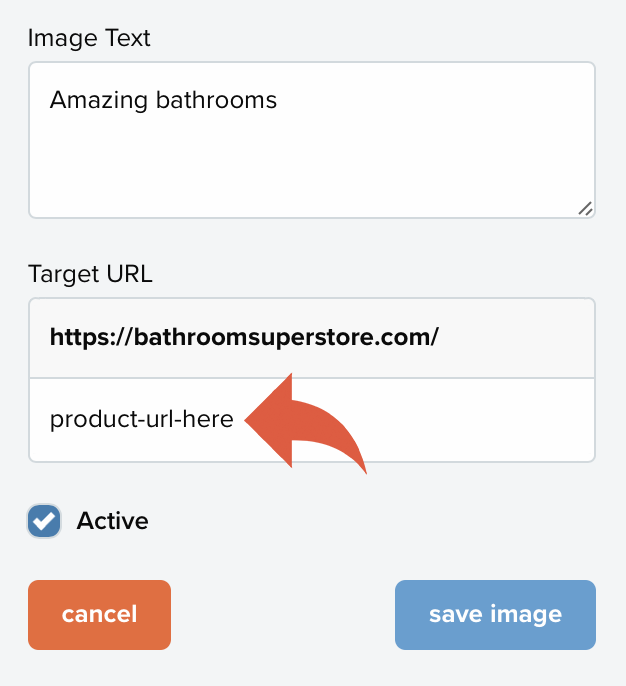
Once you've made your changes click the 'save image' button.
Please note!
When you upload an image to ShopWired it needs to be distributed across our content network (which is a collection of servers around the world), this can take some time to complete during which time you may see an 'image processing' message in place of the image you have uploaded. Where you see this message, your image will be available to be viewed shortly and will usually display within a few seconds after reloading the page.
Moving images into a new position
Some ShopWired theme's show images in a slider (one image at a time) whereas others show images in an arrangement.
You can move images into a new position by clicking the compass icon and dragging and dropping the image into its new position.
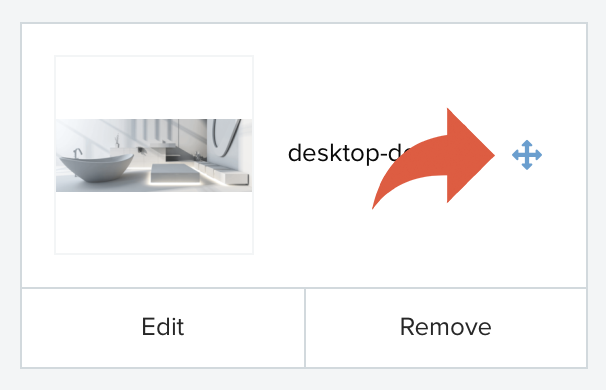
You don't need to save your changes once you've re-ordered your images (the new position will be saved automatically).
Autoplay
Where your theme displays images in a slider (e.g. one image at a time), the autoplay feature allows you to select that a new image is displayed automatically (without the website visitor having to do anything).
To enable this feature tick the 'autoplay' tick box and enter the number of seconds that you'd like each image to display for (after which a new image will be loaded).
Please note, depending on your theme and how it displays images this option may not be available for all image galleries and the autoplay function may apply to only one gallery.
